If you are sewing along with me making Shimmer blocks for the next 5 months...this post has some tips for you! If you have no idea what I'm talking about...see this post.
If you're not sewing Shimmer blocks...these are good tips anyways! :)

You'll want to plan out your fabrics a bit before you get started. The pattern uses a background fabric, and fat quarters, so you can either cut your background and fat quarters all at once now, or you can cut your background fabric now for the whole quilt, and cut the block fabrics as you go each month. I'm doing the latter... I cut all of my background fabrics, and I'm digging through my stash each month and cutting fabrics as I go. Either way works!
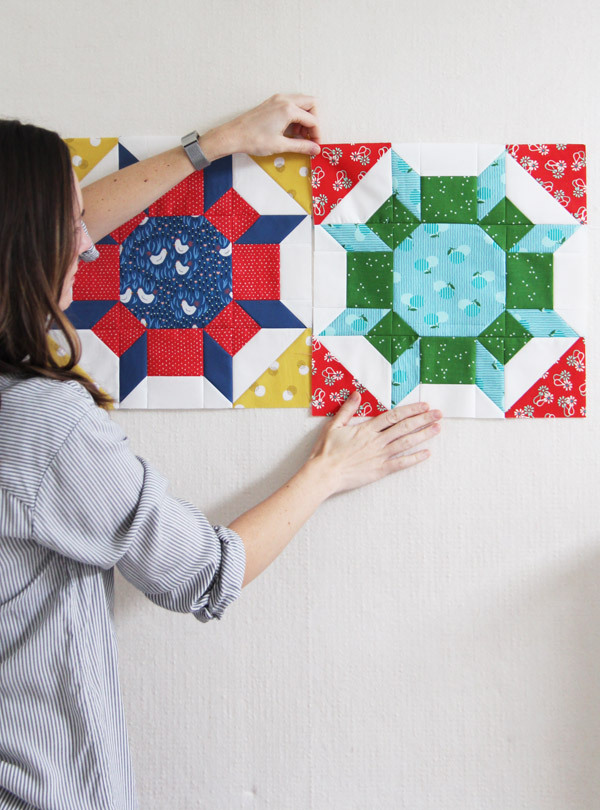
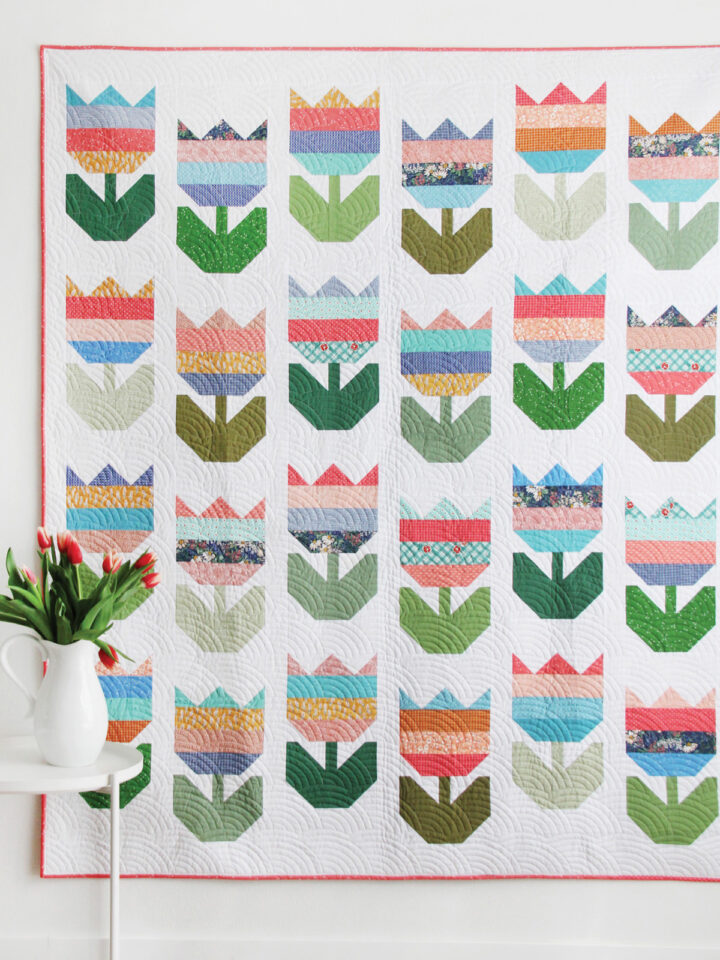
Also don't feel like you need to use just 3 fabrics in your blocks...I'm using 3 or 4, I like the strip points to be a different fabric. These blocks can get really busy, so I like to choose one busy main print, and keep the other fabrics more subtle. There is lots of inspiration at the #shimmerquilt hashtag on Instagram!
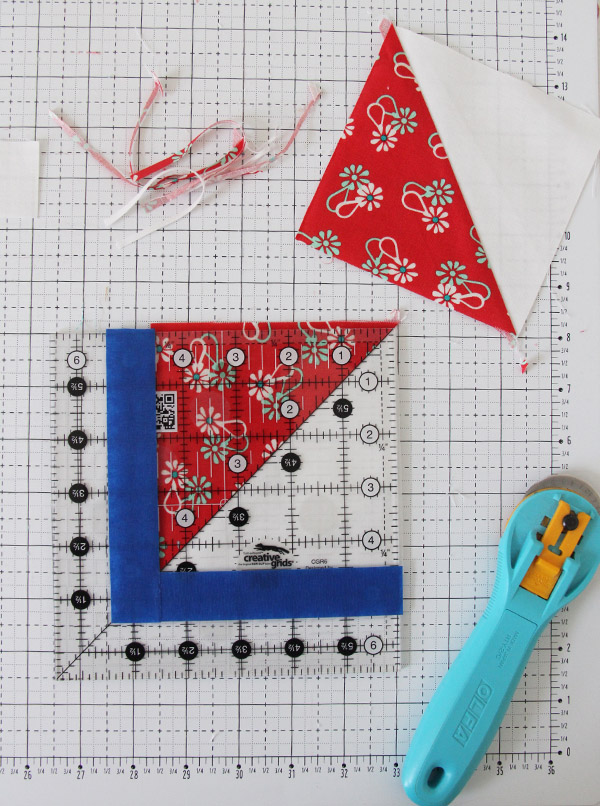
Painters tape is my best friend when making blocks like this. If you aren't using an exact 4 ½" ruler to trim up your HST's, placing tape along the edges to frame out the 4 ½" square can speed up trimming.
I also use painters tape to sew on the stitch and flip corners throughout these blocks instead of marking all the diagonal pencil lines (I still mark the lines on the 5" squares for the HST's in step 2). Visit my post on The Tape Trick to get a better feel for my favorite trick ever.

There are a lot of points in this quilt, and I don't want you to get overly stressed about matching them all perfectly. If you are having a hard time matching them you can pin where the seams will intersect when sewn, but if they are a little off....don't sweat it. Seriously...just don't. This is just for fun!!
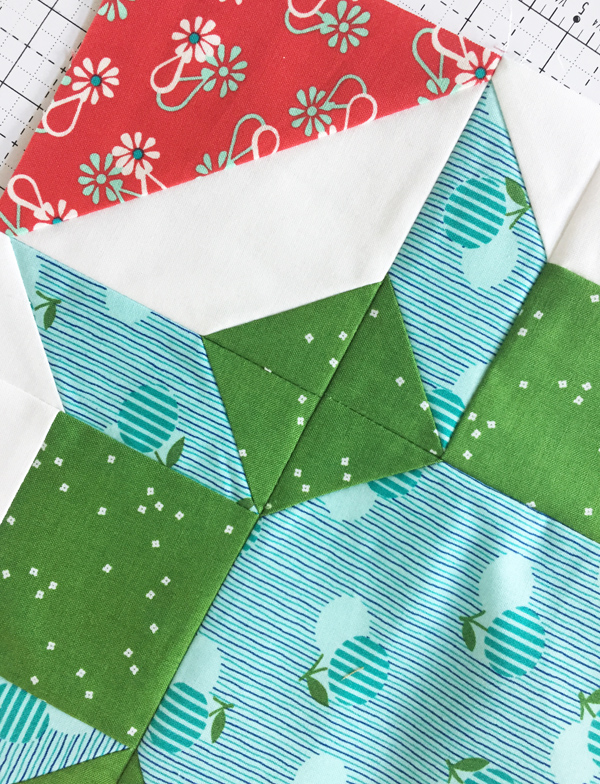
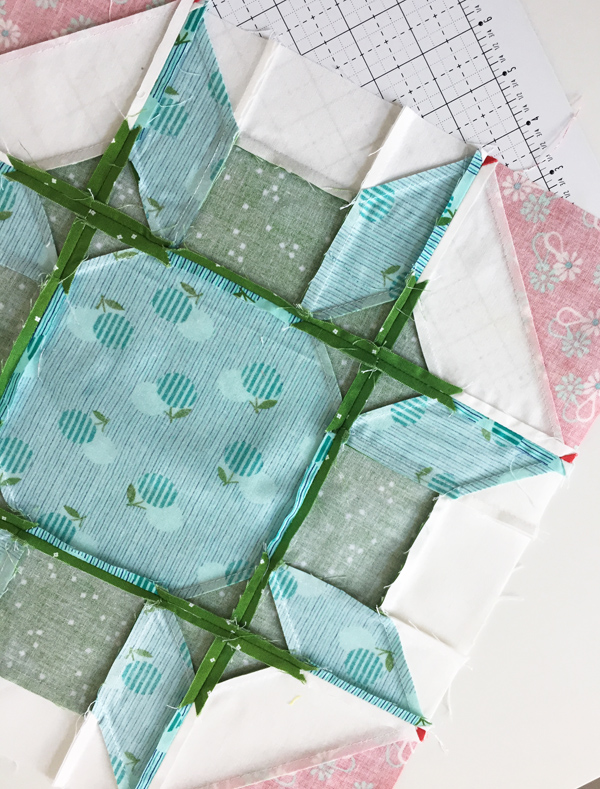
Press final block seams open. There are a lot of adjacent angled seams when you sew the block rows together, and the best way to keep the block flat and less wonky is by pressing seams open. I know...pressing seams open is the worst, but you will be glad you did it with these blocks.
I think that's it! If you have any questions put them in the comments and I'll reply there, or shoot me an email.
Make 4 Shimmer blocks in February, and I'll check back in with you the end of the month. Happy Shimmer-ing!
P.S. you still want to join the us sewing Shimmer blocks the pattern is on sale here. This is very low key...so no pressure and no tight deadlines, just sew 4 blocks each month starting in February an by July we'll have 20 blocks for a Throw size (more info here). If you are on Instagram, add #shimmerquilt to your photos so we can see them!
Sheila
Love "The Tape Trick"! It's one of those "now why didn't I think of that?" LOL! Thanks for sharing, Allison!
Allison
Haha it is one of the best tricks and saves so much time!
socasewing
This painter's tape on the ruler trick is amazing! So simple yet it never would have occurred to me!
Allison
Thanks it's my favorite trick!
Die Bildersammlerin
Wunderschöne Shimmer Blogs, mit ausgewählt schönen Farben. Ich sehe, Du bügelst die Nahtzugaben auch auseinander. Das mache ich auch so.:-))
Viel Spaß beim Quilting.
Herzlichst, die Bildersammlerin!
veronica evans
I'm so excited about this block-a-long! I bought the pattern a year or two ago, and I've let it sit too long! Do you think Tula Pink Zuma is too busy for this pattern?
Allison
No I think it would be perfect! I would just pair the busy Zuma prints with the more basic prints/solids. There are a lot of basic prints in that line and near solids, they would be beautiful with it!
Veronica Evans
Awesome! Thanks, Allison!
Karen
Oh my gosh, your shimmer blocks are sew cute! I love those fabrics, colors and prints!
Allison
Thank you!
Jeanette
The painters tape is a good tip. Love your blocks.
Jamie
Great tips! I’m making mine all in blues with a white background. Waiting for my fabric to arrive.
Deborah S
So glad to be doing this block-a-long and that you have provided cutting instructions for individual blocks. This is so much easier if I want to use a specific fabric but don't have a full fat quarter. Love your tips!
Allison
Thanks Deborah I'm glad you found the directions helpful!
bogeywogeybiker
Ironing them with open seams is a very good idea, I have made three so far having fun
Allison
Yes it is! I usually do some pressed to the side within the block but the final seams are always open!
M
I just received my pattern. So excited! How should I press the initial smaller piecing? I'm a newbie and want all the tips.
Allison
I usually press all of my corners out....in the pattern I think I say to press them open, but I find it easier to press them out. When you sew the units together the seams will lay on each other but the extra bulk is worth the time saved not pressing open! The final seams when I'm sewing the block together, I press those seams open. Honestly it's just personal preference...make one each way and see which you like better. So glad you are sewing along!!
Mavis C.
Hi Allison! I'm finally getting started on my Shimmer blocks and was so excited to begin that I cut out all of my fabrics at once...only to realize that I cut my 3" x 3 1/2" strips as 3" x 3" blocks instead! :/ Rather than re-cut and waste the cute fabrics I had picked out, I was just going to see if I could find a way to construct the blocks with the 3" x 3" size instead. Do you think if I simply trim the center 6 1/2" blocks down to 6" or even 5 1/2" blocks I could still get my wonky sizing to work? I'm sewing with a true 1/4" seam vs. a scant 1/4". Thanks for your help!
Allison
Hi Mavis! Hopefully you get this...I'm not sure if comments email you back? I think that would work (I don't have the pattern in front of me) to just make the 3" x 3 1/2" strips 3' x 3".....your block will be slightly different but that's no biggie. I would sew one up if I were you, and see if it works and if you like the way it looks. If you don't like it with the 3" squares, I would piece the 3" x 3 1/2" units from your scraps if you have enough of them. It would add an extra seam and some time but it would save all that fabric!